Features
Photography mistakes that waste museum trips
Photography mistakes that waste museum trips: flash, tripods in the walkway, blocked views and missed labels, plus handling rules for fragile material.
Photography mistakes in small museums come in two grades. The recoverable ones waste museum trips: you go home with a card full of frames you cannot use. The unrecoverable ones damage something that cannot be replaced, usually because a visitor moved an item to get a better angle. In a single-subject collection, where the person who opens the case is often the person who built it, both are avoidable.
This matters most in the small, unusual and overlooked museums that are the point of a side trip: the Kansas Barbed Wire Museum in La Crosse, Kansas, the Museum of Jurassic Technology in Culver City, California, or the Mütter Museum in Philadelphia. One subject, a room or a few, and no second copy of anything. In places like these, ask before you shoot and move nothing.
What to take away
- Never reposition an original to improve a shot; ask staff to move it or accept the angle.
- Photograph the label and reference before the object, every time.
- Fragile formats have handling rules that are not obvious from looking at them.
- Hundreds of unidentified frames are worth less than twenty labeled ones.
The errors that get you stopped
Flash is the fastest way to draw a staff member across a room. Light exposure builds up, so a museum that allows photography may still refuse flash in front of paper, textiles, photographs or paintings. A tripod left across a walkway, a selfie stick lifted over a case, and a visitor leaning on the glass all fail for the same reason: they risk the collection or the next visitor.
Ignoring the policy is the error underneath them. Small museums usually state their photography rules at the desk or post them near the entrance, and the rules differ from one building to the next, so ask before your first frame rather than after you are stopped.
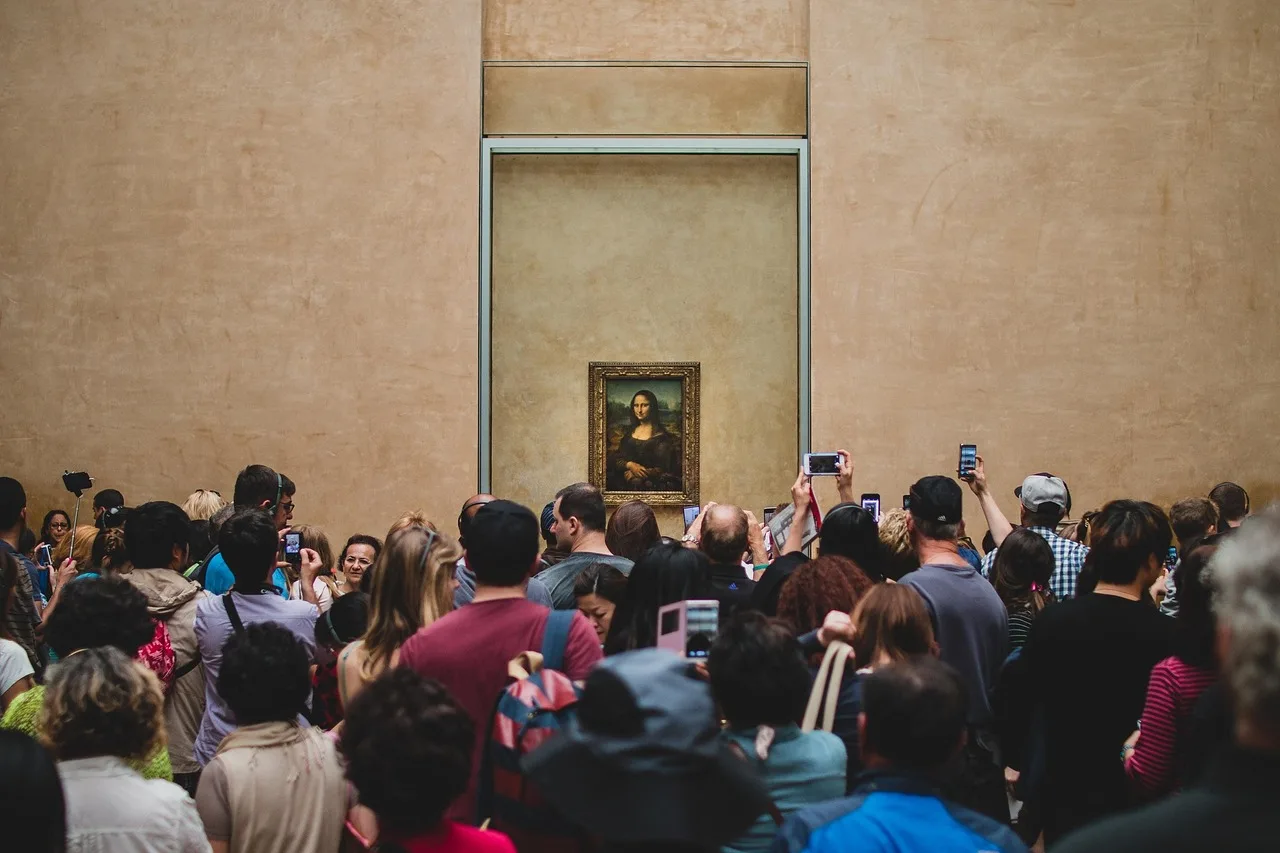
Blocking the view is the quiet one. Take the shot, step out of the sightline, review it from the side, and let the visitor behind you have the case.
Handling is where the damage happens
The temptation to flatten a curled print or lift a photograph out of a mount is exactly the wrong instinct. The National Archives collects its guidance on handling photographic material around precisely the questions visitors get wrong.
Those questions cover removing old tapes, making repairs, flattening rolled or curled photographs, and mounting items safely in albums or scrapbooks. They also cover which kind of album to use, how prints should be captioned and whether it is safe to write on the back, how to frame and display photographs, and how glass plate negatives should be moved.
Each of those has a correct answer and several damaging ones. None of them are things to attempt in a gallery to get a cleaner picture.
Some material is more fragile than it looks
Newsprint is the classic trap: it looks sturdy but is not. The National Archives explains on its page about preserving an important newspaper edition that newsprint is inherently unstable.
It is made with large amounts of unpurified wood pulp. Those impurities cause discoloration and acidic reactions under light, high humidity and pollutants, weakening the fibers until the paper is brittle.
Preservation needs a stable environment of roughly 60 to 70 degrees Fahrenheit and 40 to 50 percent relative humidity, protection from light, and flat storage in a rigid box or folder. Never laminate it or apply pressure-sensitive mending tape.
Do not turn a brittle newspaper in a case yourself; ask, and if the answer is no, photograph what is showing.
Mistakes that waste your own time
- Shooting the object first and the label later, then losing track of which is which.
- Photographing everything at low resolution to save space.
- Failing to check focus on the first few frames, then repeating the error two hundred times.
- Relying on gallery lighting for text, when a slight angle removes the glare.
- Not photographing the case label or catalog card, which is the index to everything else.
A working sequence
- Photograph the container, label or catalog entry.
- Photograph the item, straight on, filling the frame.
- Photograph any detail worth a second shot.
- Check one frame at full magnification before moving on.
- Note the reference number in your notebook, not only in the image.
The rule underneath all of it is the same in a one-room collection and a national archive: the object outranks the photograph. Ask first, move nothing, and label as you go. The keeper of a single-subject museum will usually tell you what may be photographed and what should stay under glass — and that conversation is often the best part of the visit.